Ironing flowers to press them – tutorial
Contents:
- Fast Facts: How to Press Flowers with an Iron
- Why Press Flowers with an Iron?
- Gathering and Preparing Flowers for Iron Pressing
- Best Flowers for Iron Pressing
- Cleaning and Prepping
- How to Press Flowers with an Iron – Step-by-Step Guide
- Materials You’ll Need
- The Ironing Process
- Table: Ironing Flowers vs. Traditional Book Pressing
- Common Issues and How to Fix Them
- Burned or Brown Flowers
- Petals Sticking to Paper
- Flowers Curling After Pressing
- Loss of Color
- Creative Ideas for Your Pressed Flowers
- FAQ: Pressing Flowers with an Iron
- How long does it take to press flowers with an iron?
- What type of paper is best for ironing flowers?
- Can I use a steam iron to press flowers?
- Do pressed flowers fade over time?
- Which flowers do not work well with ironing?
Ironing Flowers to Press Them – Step-by-Step Tutorial for Stunning Floristry
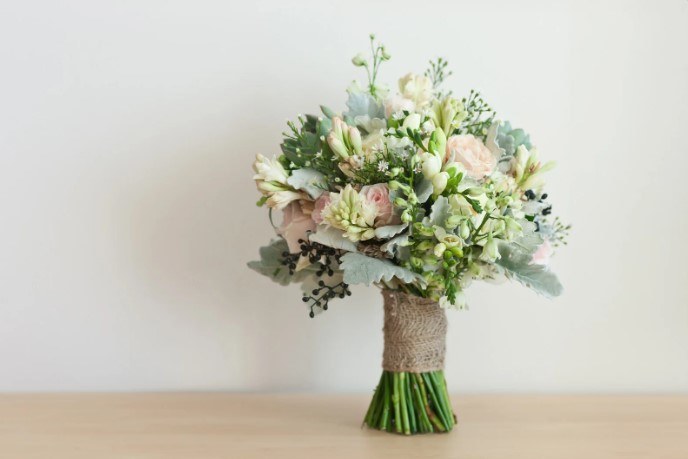
Nothing beats the thrill of finding a wild violet or a perfect rose petal and preserving it forever. Florists and crafters across the US love the timeless practice of flower pressing–and while the classic book method takes weeks, you can capture botanical beauty in minutes with a detail most people overlook: your household iron.
That’s right. Whether you’re making cards, decorating candles, or crafting a floral gallery wall, you can use an iron to press flowers safely and fast. Curious how florists achieve crisp, vibrant results? This guide is packed with tested techniques, practical tips, and expert know-how straight from American pros.
Fast Facts: How to Press Flowers with an Iron
- Lay flowers between two sheets of absorbent blank paper (like parchment or copy paper, not glossy).
- Flatten with a heavy book for 10 seconds.
- Set your iron to a low, dry (no steam) setting.
- Press and hold the iron on top for 10-15 seconds, without moving it around.
- Lift and check; repeat as needed until flowers are dry and flat.
- Let cool under a book for 1-2 minutes for the best shape.
You can preserve most flowers this way in less than 10 minutes.
Why Press Flowers with an Iron?
There’s a reason even seasoned florists reach for the iron instead of waiting weeks with books. According to Jenna Miller, a Portland-based master florist (“Jenna’s Juniper Blooms”; AIFD-certified), “The iron technique preserves color better and gives you usable pressed blooms in a single afternoon, not a month.”
Key benefits:
- Speed. Ironing flowers cuts drying time from 7-14 days (book method) to under 15 minutes.
- Brighter colors. Heat locks in pigment, especially in roses, pansies, and daisies.
- Consistent results. Less risk of mold or flowers turning brown.
When should you NOT use this method? If flowers are extremely thick (succulents, tulips), stick with slower presses or silica gel drying. The iron won’t flatten large petals evenly and might scorch thick blooms.
Gathering and Preparing Flowers for Iron Pressing
Not every bloom is a good candidate for this shortcut. The right selection and prep make all the difference.
Best Flowers for Iron Pressing
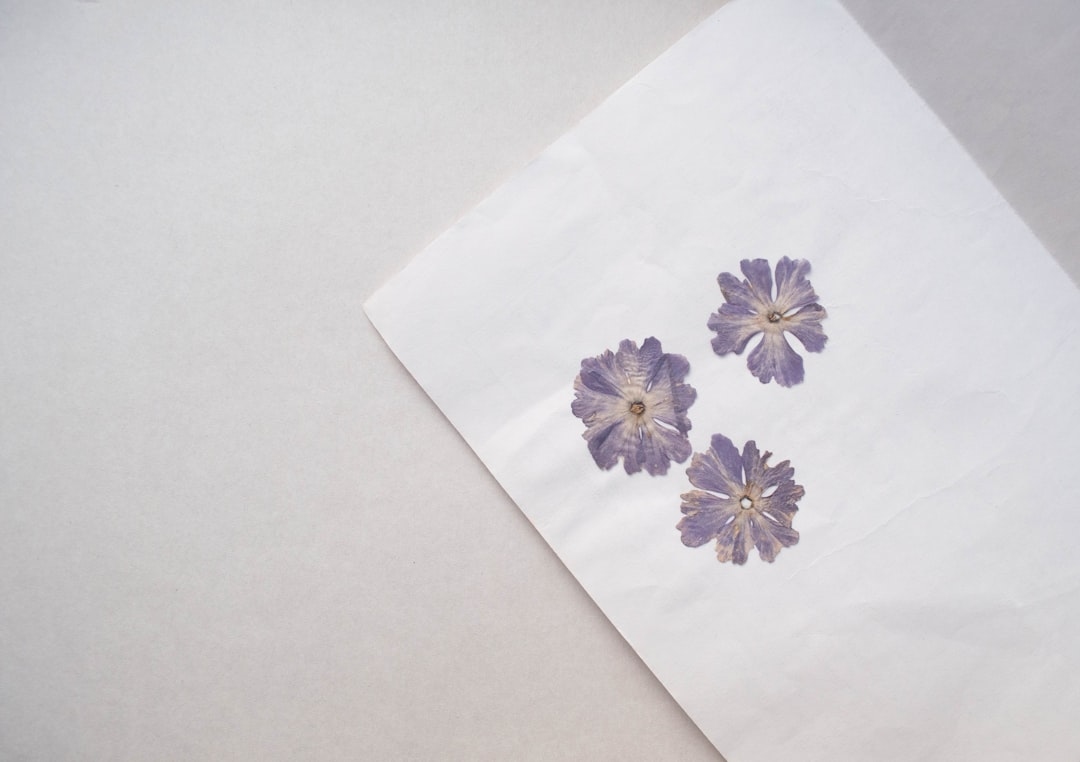
- Pansies, violets, and johnny jump-ups: Flat, thin petals; vibrant color holds up well.
- Ferns, leaves, and herbs: Parsley, mint, and maidenhair ferns look especially delicate when pressed.
- Delicate wildflowers: Queen Anne’s lace, forget-me-nots, larkspurs.
- Rose, peony, or hydrangea petals: Remove thick centers; press individual petals for best results.
“Try picking flowers early in the morning, right after the dew dries,” recommends Lucas Carter, horticulturist at GrowNation Denver. “It’s when their moisture and turgidity are just right for pressing.”
Cleaning and Prepping
- Pat gently dry. Use a paper towel to remove surface moisture.
- Trim thick centers or stems. Snip large blooms in half; only petals under ⅙ inch thick should go on the iron.
- Lay out on a flat surface. Arrange just as you want them to look when finished–pressed blooms can’t be reshaped after.
How to Press Flowers with an Iron – Step-by-Step Guide
Ready to transform your fresh-picked florals into lasting works of art? Follow these detailed instructions for failproof results.
Materials You’ll Need
- Fresh, clean flowers
- Plain printer/copier paper or parchment paper (No wax paper)
- 1-2 thin cotton dish towels (optional, for delicate flowers)
- Flat, sturdy iron (Black+Decker Light ‘N Easy or Rowenta DW2459 recommended)
- Large hardcover book (for final cooling)
The Ironing Process
1. Arrange Flowers for Pressing
Place your flowers between two sheets of paper. Make sure petals and leaves lie flat, with no overlaps unless you want a layered look.
2. Pre-Press
Place the paper “sandwich” on a hard surface (not an ironing board). Set a book or your iron (turned off) on top and gently press for 10-15 seconds. This flattens most air pockets.
3. Iron Setup
- Set your iron to its “Low” or “Silk” setting.
- Disable steam. (Do not add water to your iron.)
- If your iron tends to run hot, lay a cotton tea towel over the top paper to protect delicate blooms.
4. Iron the Flowers
- Press the iron straight down over the flowers for 10-15 seconds. Do NOT slide it back and forth (can smear/damage petals).
- Lift the iron and check–petals should look slightly translucent and feel papery, not damp.
- Repeat as needed, moving to untouched sections, until the entire flower is dry and flat.
5. Cool and Set
Transfer your “flower sandwich” under a heavy book for 2-3 minutes to cool. This prevents curling.
“The key is patience–even with an iron, take your time and check often. Rushing just causes burns or browning.”
– Jenna Miller, AIFD-certified florist
Table: Ironing Flowers vs. Traditional Book Pressing
| Feature | Ironing Method | Traditional Book Pressing |
|---|---|---|
| Time Required | 10-15 minutes | 1-3 weeks |
| Color Brightness | High (esp. purples/yellows) | Medium-low |
| Best Flower Types | Thin, flat blooms | All types |
| Risk of Mold/Browning | Very low | Moderate |
| Equipment Needed | Iron, paper, towel | Heavy books, paper |
| Immediate Usability | Yes | No, must wait |
Common Issues and How to Fix Them
Burned or Brown Flowers
- Cause: Iron too hot; iron left too long on one spot; not enough paper layers.
- Fix: Lower temp; try two sheets of paper or a dish towel as a buffer.
- Pro Tip: Always test first with a spare flower!
Petals Sticking to Paper
- Cause: Flowers too moist or iron pressure too high.
- Fix: Pre-press longer; use parchment paper over copier paper.
Flowers Curling After Pressing
- Cause: Didn’t cool under a heavy book.
- Fix: Always let cool with weight for 2-3 minutes.
Loss of Color
- Cause: Overheating or flowers past their prime.
- Fix: Use freshly picked flowers; avoid old or wilted blooms.
Creative Ideas for Your Pressed Flowers
Pressed florals aren’t just for scrapbooks. Americans are incorporating these preserved blooms into everything from wedding décor to tech accessories.
Here’s what’s trending for 2026, according to US craft retailers:
- Resin phone cases and jewelry: Embed pressed daisies or violets for a custom look.
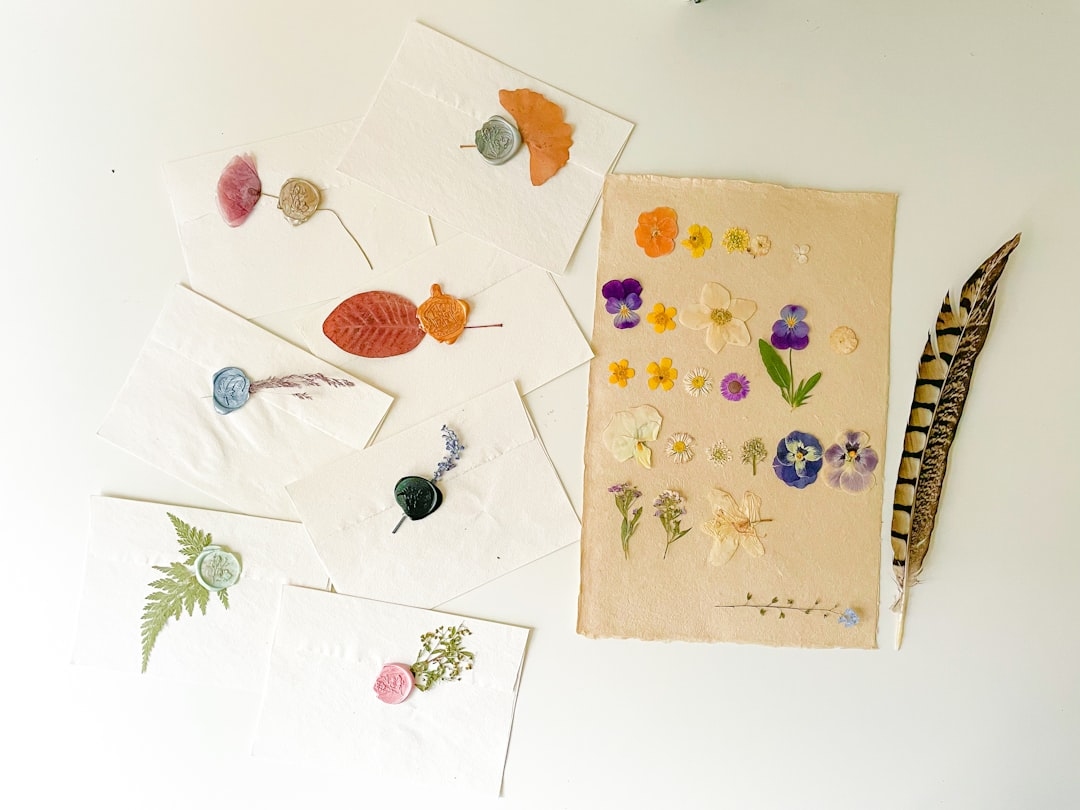
- Framed botanical art: Arrange an assortment of pressed wildflowers on acid-free paper; frame in floating glass.
- Greeting cards: Pressed lavender stems on cardstock (pack of 10 pre-folded blanks, $12.99 on Amazon).
- Wax candle décor: Pressed flower panels adhered to the outside of pillar candles, sealed with Mod Podge or beeswax.
- Wedding invitations/menus: A single pressed pansy or forget-me-not adds a romantic, artisan touch.
Tip: Use acid-free mounting tape and UV-resistant glass to preserve color for years.
FAQ: Pressing Flowers with an Iron
How long does it take to press flowers with an iron?
Most thin flowers (like violets or pansies) take 10-15 minutes total. Thicker petals may need up to 20 minutes with repeated pressing.
What type of paper is best for ironing flowers?
Plain white printer paper or parchment paper works best. Avoid glossy or coated paper, which can stick or leave residue.
Can I use a steam iron to press flowers?
No. Always use a dry, steam-free setting. Steam adds moisture, which can cause browning or petals to stick.
Do pressed flowers fade over time?
Yes–exposure to direct sunlight or moisture fades pressed flowers. Store artwork under UV-protected glass and away from humidity to maximize longevity.
Which flowers do not work well with ironing?
Avoid extra-thick flowers like tulips, succulents, or camellias. Stick to blooms with petals under 1/8 inch thick for the best results.
Ready to start? Gather a handful of your favorite blooms, plug in the iron, and preserve a piece of the season–beautifully and fast. Try experimenting with unexpected finds from your local farmers’ market or wildflowers from a weekend hike. And don’t be afraid to mix techniques: combine iron-pressed petals with book-pressed leaves for one-of-a-kind creations that brighten your home or make meaningful gifts year-round.
Related Posts
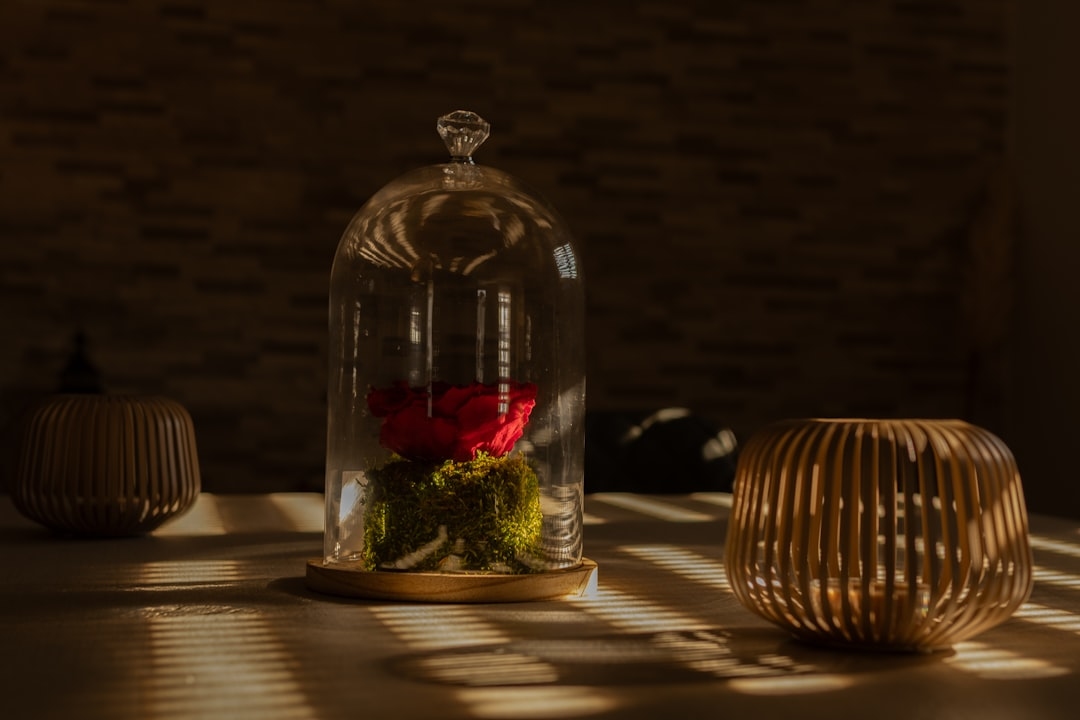
Preserved rose dome brands compared
Field to Vase Dinner Tour explained